Generating and adding a certificate after logging into the portal
Once you have logged in to the portal and selected to represent yourself to generate a certificate, please follow these steps:
1. Select the "Profile" tab from the top menu:

Picture 1. Menu Profile
2. In the "Certificates" section, click on the "Add New" button.
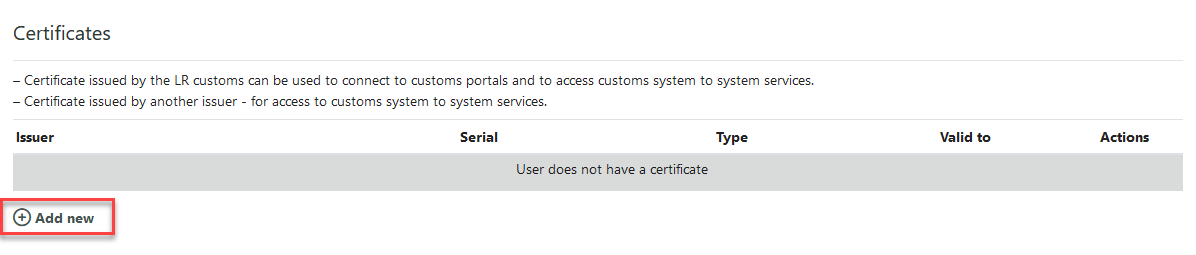
Picture 2. Add new certificate
3. In the "Adding new certificate" pop-up window that appears for adding an LR customs certificate, select the value "Certificate issued by the customs of the Republic of Lithuania - for connecting to customs portals and accessing customs e-mails provided by system to system services." and click the "Continue" button.
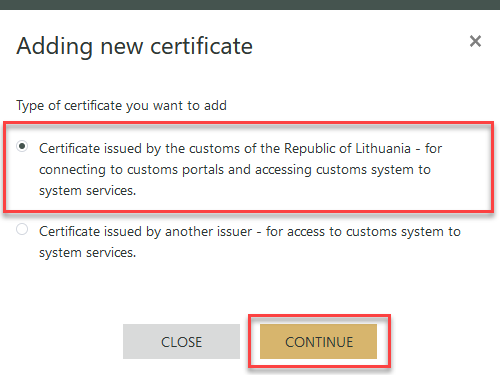
Picture 3. Choosing a certificate
4. If you already have a certificate, to generate a new certificate, click on "Generate new certificate".
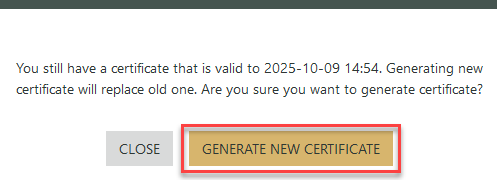
Picture 4. Approve you want to generate new certificate
5. After selecting the "Generate new certificate" button, you will be redirected to the "Generate certificate" window. In the opened window, upload the generated file in CSR format and click on the "Generate certificate" button:
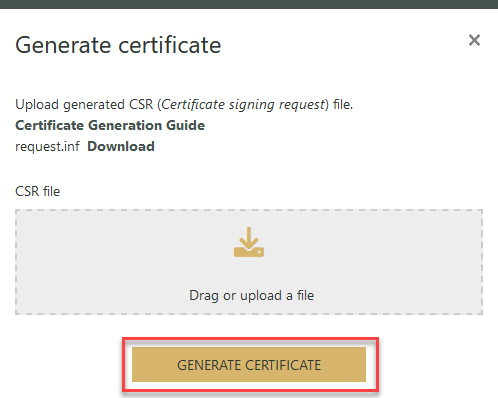
Picture 5. Customs of Lithuania for authentication certificate generation
Note
You can hold one valid permanent certificate at a time. If you have a valid certificate and generate a new one, the old one will automatically expire.
6. To add a certificate issued by another issuer, select the value "Certificate issued by another issuer - for access to customs and European Commission e-mails provided by system to system services" in the "Adding a new certificate" pop-up window that appears and click the "Continue" button:
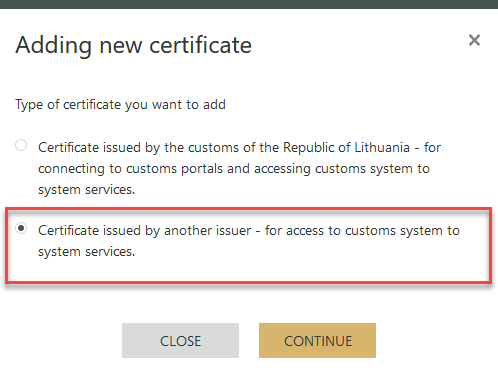
Picture 6. Choosing a certificate
7. The "Adding a certificate for signing" window that opens shows you what you need to do to sign a document with a certificate. Upload the signed document in PDF format and click the "Add certificate" button:
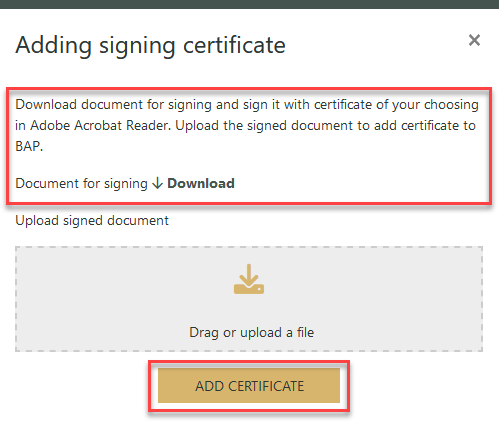
Picture 7. Adding other issuer's certificate for signing
Note
You can have more than one valid certificate issued by another issuer for signing at the same time.
For digital signing of an uploaded PDF signing document, please refer to the instructions "Certificate registration (USB/ID card)".
8. To download the certificate data, select the row of the certificate record under "Certificates".
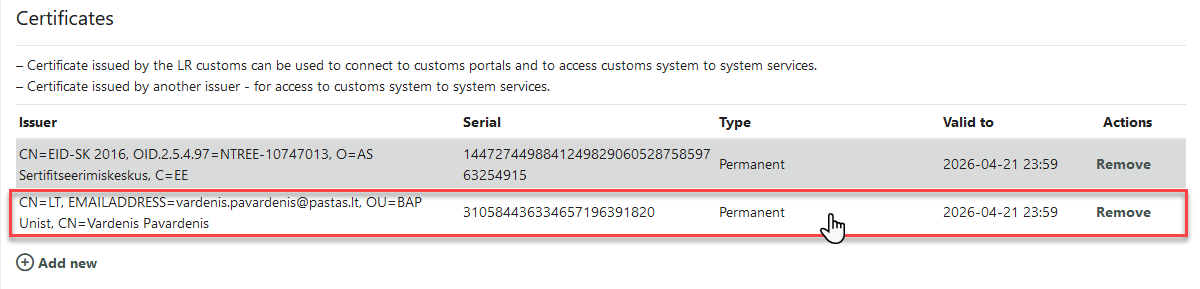
Picture 8. Download certificate data
9. Clicking on an entry line will bring up the "Certificate details" pop-up window, where you can confirm the certificate data download action by clicking on the "Download" button.
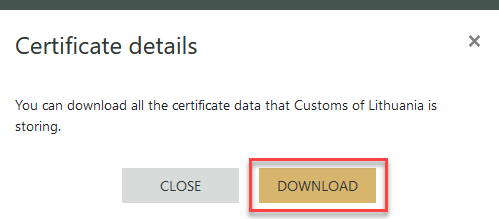
Picture 9. Confirmation of certificate data download
10. A "sertifikatas.cer" file will be sent to your computer.